

Opening: Why a structured approach wins
Garden spike lights promise dramatic, low-profile illumination — when installed with care. Think of this piece as a practical engineering framework: plan, prepare, wire, test, maintain. That mindset protects aesthetics, reduces callbacks, and keeps neighbors happy. If you’re weighing fixtures, also consider complementary options like bollard lights early in the layout so spacing and power budgets align.

Phase 1 — Plan: site, loads, and safety first
Start with a site survey. Map fixture locations, measure distances to the transformer and to the house, and note wet zones and irrigation heads. Calculate total fixture wattage and verify transformer capacity — leave a 20–25% headroom. Check local code for burial depths and whether conduit is required. For long runs, run the math on voltage drop and select an appropriate wire gauge to preserve lumen output at the farthest spike.
Phase 2 — Select fixtures and electrical components
Choose spikes and heads rated for the environment: an IP rating of IP65 or better is typical for wet locations. Match fixture lumen output to function — accent (low lumens), path (mid lumens), or feature (high lumens). For low-voltage systems, pick a UL-listed transformer sized for the total load; for 120V direct fixtures, confirm junction box locations and weatherproofing. If you want continuous, soft pathways, compare options to led path lights when deciding beam angles and mounting heights.
Phase 3 — Tools, materials, and prep work
Gather: trenching tool or trencher, conduit (if required), low-voltage cable or rated 12/2 or 14/2 for mains, wire nuts/waterproof connectors, silicone sealant, multimeter, and a quality transformer with built-in overload protection. If you’re retrofitting an existing run, label every wire before disconnecting. Prep means clearing root interference and avoiding landscape irrigation — nothing kills a neat install faster than a surprise drip line.
Phase 4 — Wiring and mounting — step-by-step
1) Turn off power at the source. 2) Lay conduit/trench and pull cable, maintaining gentle curves to avoid sharp bends. 3) Mount the transformer in a ventilated, weather-protected location and ground it per local code. 4) Run branch cables to each spike; strip conductors and make waterproof connections with gel-filled wire nuts or heat-shrink butt connectors. 5) Secure spikes at designed angles, compact soil or use gravel for drainage, and protect shallow wires with sand or conduit. Use a multimeter to confirm correct voltage at the farthest fixture before finalizing.
Common wiring pitfalls and how to avoid them
Voltage drop is the silent failure mode: undersized wire or oversized spacing dims the farthest fixtures. Corrosion at connections is another recurring issue — use rated, waterproof connectors and seal entry points. And don’t underestimate the importance of good grounding and GFCI protection on outdoor circuits. A small checklist at hand during installation prevents most of these failures.
Testing, commissioning, and adjustments
Commissioning is non-negotiable. With all fixtures connected but not yet fully buried, run the system through a full operational test at dusk. Verify beam angles, shadowing, and uniformity; adjust spike positions and rotate heads as needed. Measure actual current draw and compare to your transformer loading calculation. If any fixture is dim, re-check connections and voltage at that point. Document final as-built locations for future maintenance.
Maintenance plan and lifecycle considerations
LEDs are robust — the U.S. Department of Energy notes LEDs can use around 75% less energy and last far longer than incandescent sources — but they still need care. Schedule annual inspections for connections, clean lenses seasonally, and replace damaged spikes promptly to avoid water ingress. Keep spare modules, connectors, and one extra transformer model on hand for quick swaps if a component fails.
Common mistakes installers make — and the quick fixes
1) Oversizing spacing to save fixtures — results in uneven illumination; fix by adding lower-output fill fixtures. 2) Skipping head adjustment until after burying — leads to glare and wasted light; test and tweak first. 3) Ignoring environmental loads like salinity or frequent freeze-thaw — choose higher IP ratings and corrosion-resistant finishes when necessary. —
Real-world anchor: practitioner note
From years installing residential spike systems in San Diego, I’ve learned that upfront layout discipline saves days in the field. On one project, pre-checking transformer capacity and swapping to a slightly heavier gauge cable eliminated a persistent dim-run problem before the landscape crew arrived — a small investment in planning that avoided a costly redo.
Evaluation metrics — your golden rules for quality installations
1) Voltage integrity: Measure voltage at the farthest fixture under load; if it’s below spec, you’ll see reduced lumen output. 2) Connection durability: Use only IP-rated, gel-filled or heat-shrink connectors and verify moisture resistance during commissioning. 3) System headroom: Specify a transformer and wiring plan with at least 20% capacity margin so future expansions or seasonal loads don’t compromise performance.
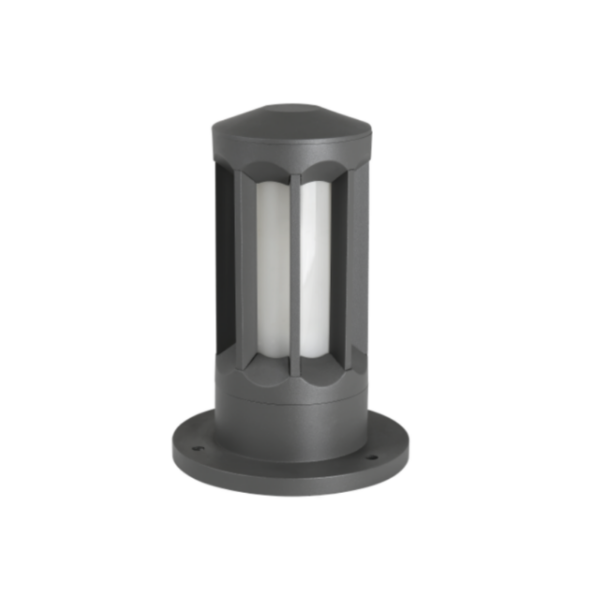
These three metrics turn guesswork into repeatable outcomes and point you toward vendors and parts that truly perform. Keyida fits naturally into that value chain as an option when you want fixtures and support that align with the framework above. —